
Aqua Tile Smooth ridge cap end
For finishing Aqua Tile Smooth ridges
Aqua Tile Smooth ridge cap ends finish the ridges of a roof covered with Aqua Tile Smooth roofing in the same colour. The ridge cap ends are light but strong and durable.
- Finishes the ridge attractively
- Easy to install
- Strong, durable & lightweight
 Step-by-step plan
- How does our AQUA TILE system work?
- Place a chalk line about 5 cm from the top of the ridge. This will be the top of the top row of roofing sheets.
- Place verge caps on both sides of the roof. Distribute them evenly up to the chalk line. Screw them in place with at least 2 screws. Each verge cap is provided with a neutral zone of up to 7.5 cm. This space is used to unify a proportional distribution of plates.
- Always work per full row, from left to right and bottom to top.
- Distribute the bottom row of sheets evenly between the verge caps and secure them at the bottom with 2 screws.
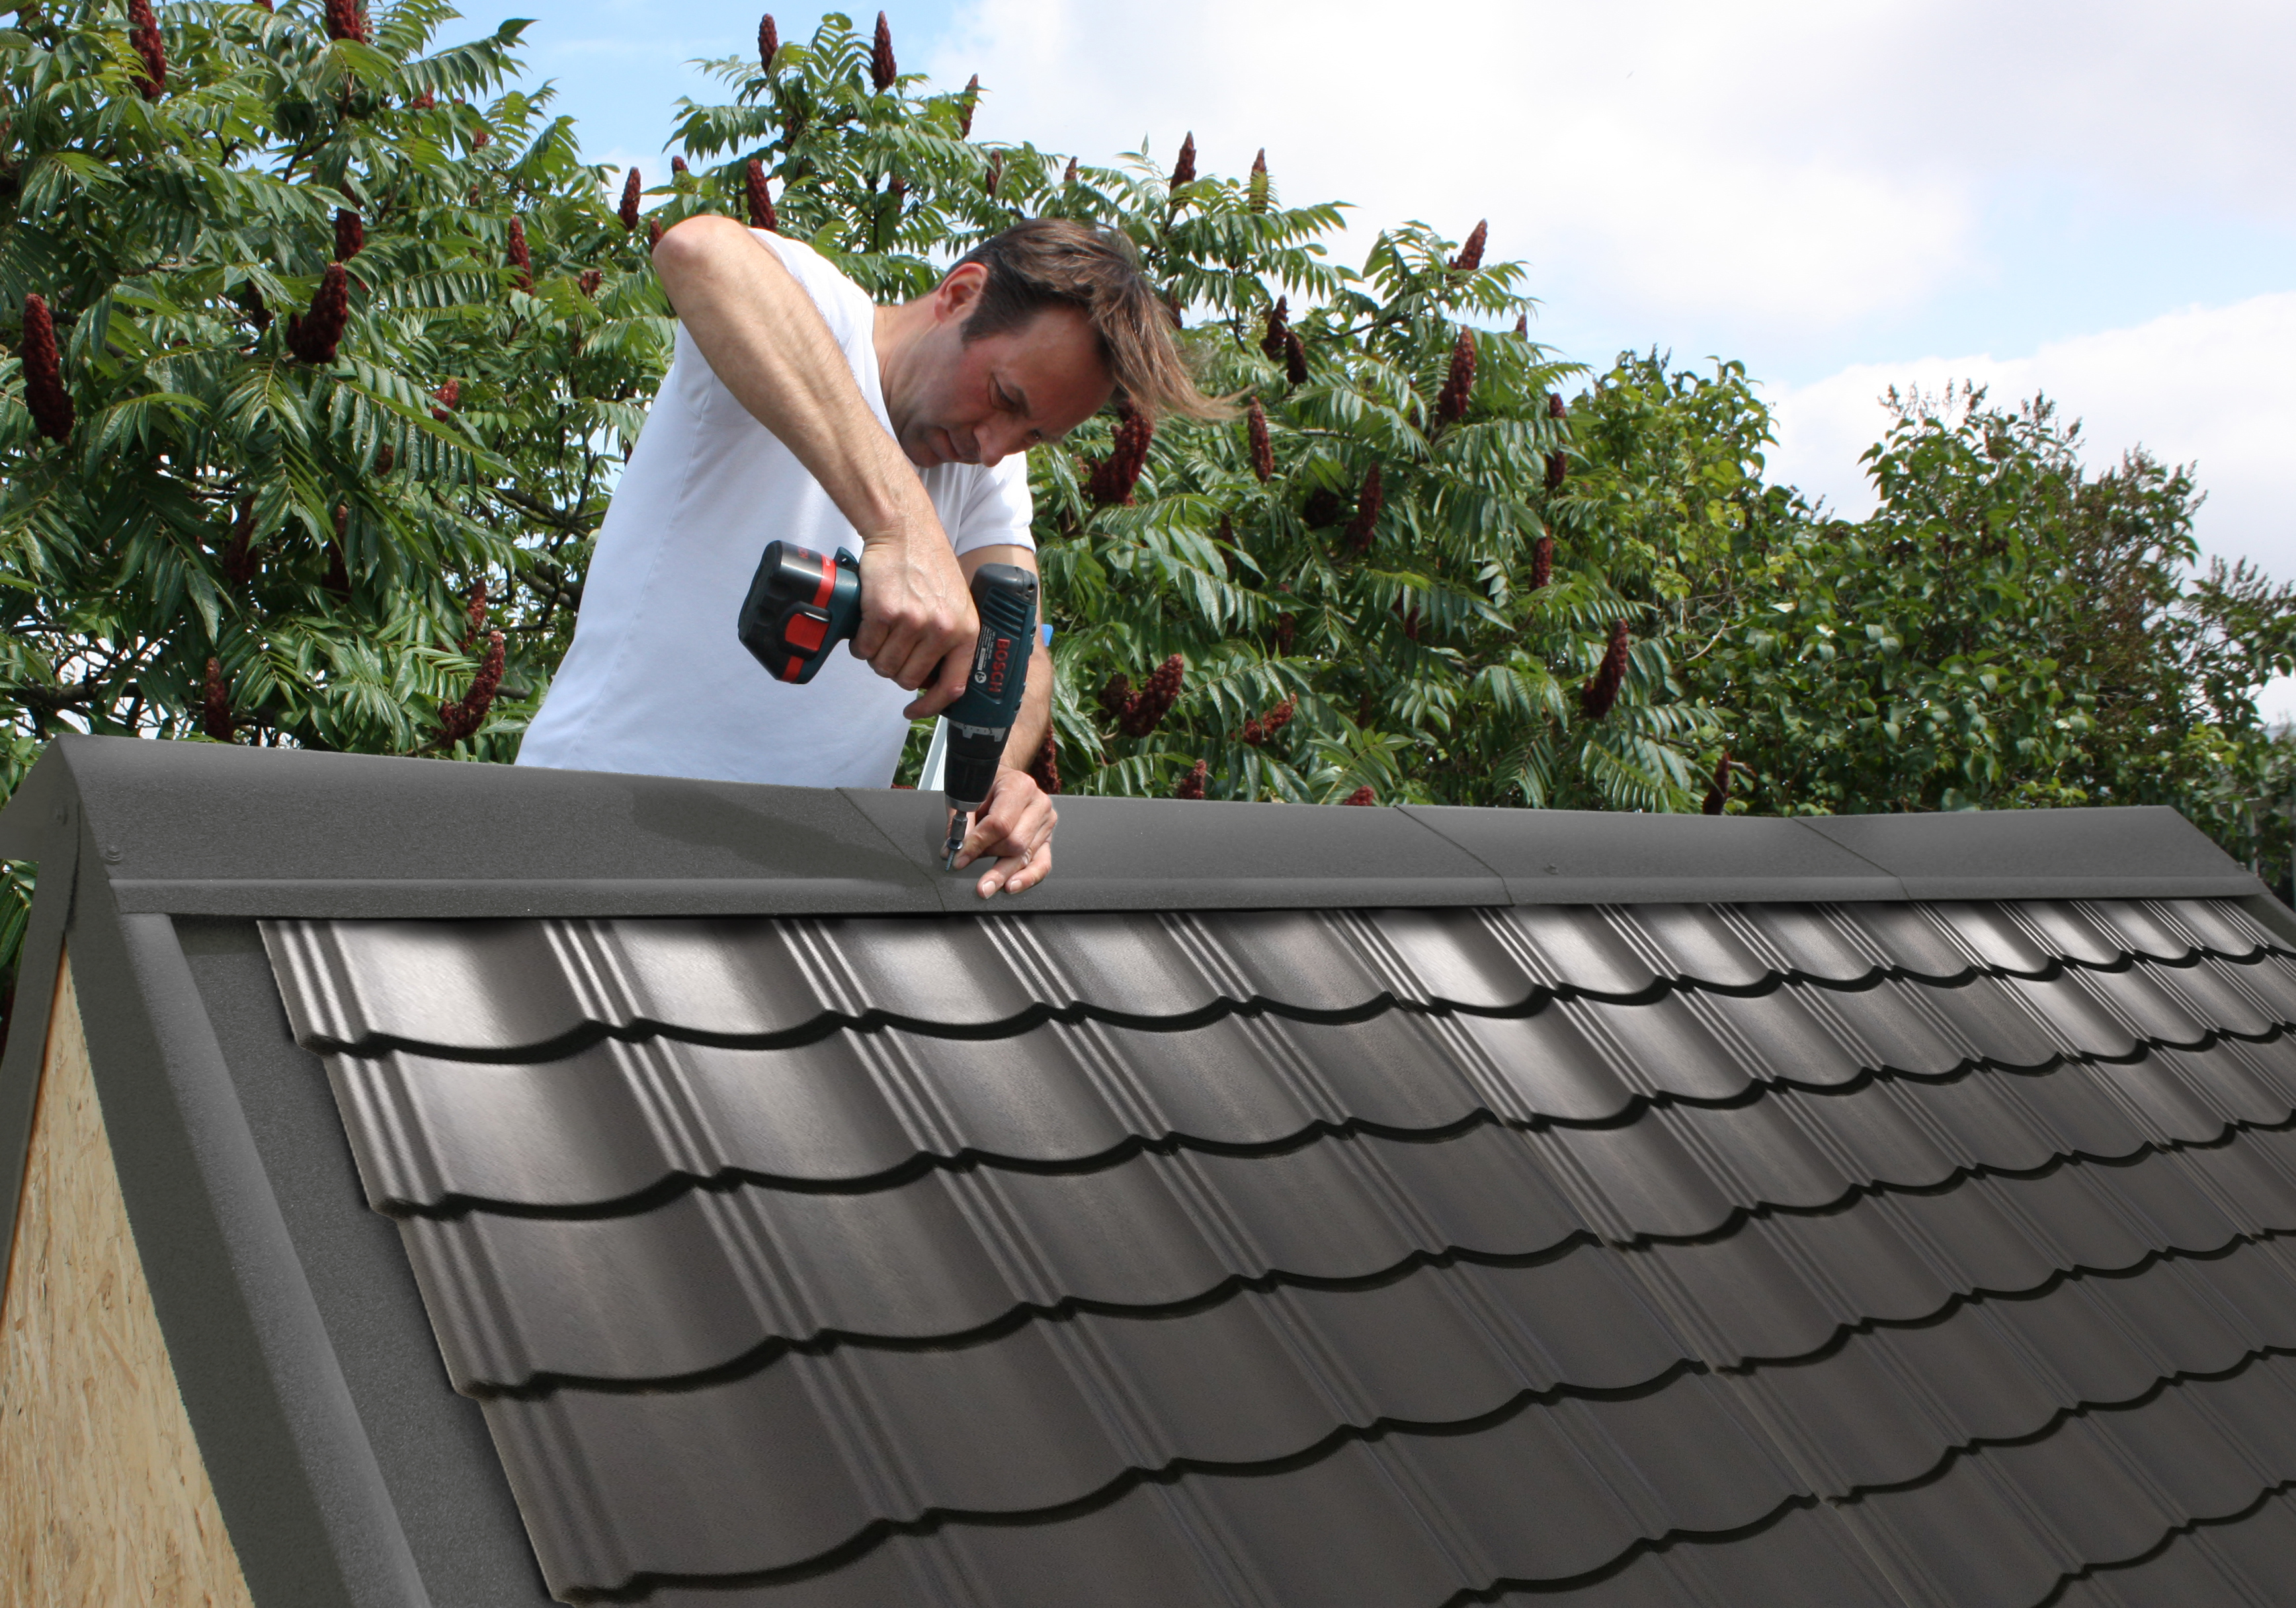
- Screw each sheet in place with the materials developed for this purpose. Use 6 screws (Gallo/Ebena) or 9 screws (Classic) per sheet. Always screw into the valley of the tile about 2 cm below the nose.
- The top row of sheets should more or less reach the chalk line.
- Then seal the ends of the ridge with a ridge cap end by fixing the end piece on top of the verge caps. Distribute the ridge caps evenly along the entire length of the roof. Screw them in place at the overlaps. Screw the first and last ridge caps onto the verge caps.
 Accessories

 Technical features
| Variation | AquaTileSmoothRidgeCapEndDarkGrey |
|---|---|
| EAN | 5420040681109 |
| Volume | 1 |
| Color | Anthracite |
| Material | Metal painted |
| Product use | Waterproofing for pitched roofs |
| Expected lifespan (in years) | 20 |
| Thickness (mm) | 180 |
| Width (mm) | 165 |
| Surface area (m²) | 0.03 |
| Required tools | screw machine |
| Length (mm) | 1 |
| Maximum inclination | 90 |
| Minimum inclination | 10 |
| Volume Indication | Stuk(s) |